


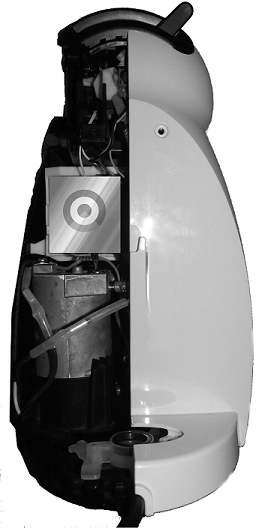
As a house warming gift, we (my awesome girlfriend and I) received a Krups Piccolo Pod Coffee machine. After a couple of months the machine decided to die on us while making our nightly hot drink before bed. The problem was that the pump was no longer working.
Being naturally curious as to how things work, we decided to take a look at the inners of this little machine to see how exactly it works and perhaps fix it if we had any matching replacement parts on hand in my “electronic junk box”.
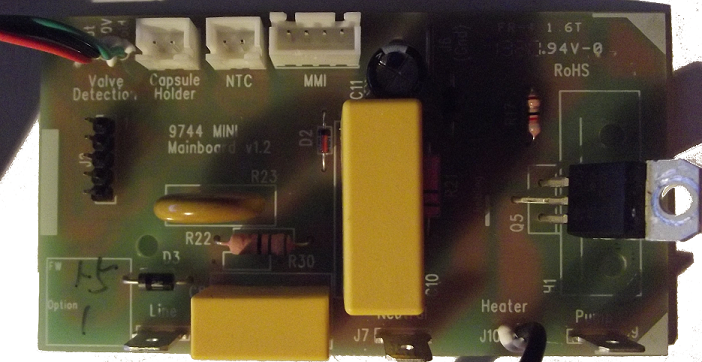
After a while investigating and tracing all the parts that are on the main board, we produced the below lists
- CBB62B x2 0.47uF
- CBB62B x2 0.22uF
- TVR 14431
- 470uF16v
- BTB08-600CW
- Z7N F308
- Number of General Transistors
- Number of General Resistors
- Generic IC – F8212 201PM02
Other items/Info:
- Board Size 9.4 x 5.1 CM
- 1-Wire Analog Resistor Temperature Sensor
- Capsule Holder (Magnetic Reed Switch)
- 3-Position Spring loaded Switch
- Power Board (Green/Red LED and Toggle Button)
- Pump
- Water Heater
While the above list is not a complete component list, it gives you an overview of how few components are required to build a working board, even if the power supply is unsafe and designed in a way that is not isolated from the main power grid.
After testing all the usual suspects of as to why the pump was not working, it was traced back to the mainboard generic microcontroller IC (which is on the underside of the PCB).
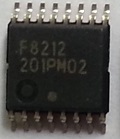
Now with all the power of google on our side, I was unable to find much information about this IC. The only information I was able to find with regards to the IC and the machine itself is the below. Which either means the IC is a custom designed one or it relabeled from some other manufacture. Either way, fixing/replacing this IC was going to be next to impossible.
http://www.helbling.ch/htk-en/project-examples/kaffeemaschine-piccolo-1
http://www.mikrocontroller.net/topic/211586
Check back soon for part 2 for a complete tear down tutorial of the Krups Piccolo and part 3 which we replace the stock mainboard with an open source one that has more features that anyone can build.